Electron App 에 NFC 카드리더기 연동하기2
by 김지운
들어가며
거의 4개월만에 글을 쓰는데 그동안 회사일과 이것저것 다른 일(롤토체스…)들 때문에 나름 바쁘게 살았다.
본격적으로 NFC 카드리더기 연동하기2에 들어가기전에 nfc-pcsc 와 simple-pcsc에 대해서 기억이 안나는 분들은
이전에 작성했던 Electron App 에 NFC 카드리더기 연동하기1 글을 읽고 오시거나 각 모듈의 깃헙페이지 혹은 README.md 를 읽고 오시길 바란다.
그리고 중요한 내용인데 nfc-pcsc 와 node-pcsclite 의 경우 Electron의 버전을 5 아래로 사용하도록 하자. V8 엔진의 2014 이후 버전에 대해서 v8::Handle 이 삭제되며 Electron 5.0 이후 버전들에서도 해당 V8엔진 버전을 포함하므로 네이티브 모듈들에서 v8::Handle(deprecated and removed)에서 V8::Local로 마이그레이션 하도록 수정되었다. 허나 해당 모듈들이 현재 해당 내용을 반영하지 못하고 있다.(다른 모듈이 있으면 찾아서 사용하겠지만 현재 안보임)
nfc-pcsc와 node-pcsclite 경우는 최신 일렉트론 혹은 node 버전대에서 build, rebuild, recompile, 등등이 정상적으로 이뤄지지 않을 수 있다(아직까진 반영안한듯).
그래서 다음과 같이 의존성을 추가한다.
package.json
{
  "name": "pcsctest",
  "version": "1.0.0",
  "description": "",
  "main": "index.js",
  "scripts": {
    "rebuild": "electron-rebuild -f -w nfc-pcsc",
    "test": "echo \"Error: no test specified\" && exit 1",
    "start": "electron ./index.js"
  },
  "author": "",
  "license": "ISC",
  "dependencies": {
    "electron": "^4.2.12",
    "nfc-pcsc": "^0.7.4"
  },
  "devDependencies": {
    "electron-rebuild": "^1.8.6"
  }
}
일단 기본 시작 스크립트를 아래처럼 수정한다.
"start": "electron 본인메인코드(여기선 프로젝트 루트의 index.js)"
이 때 main에 작성한 코드와 동일하게 진입코드를 지정한다.
그리고 nfc-pcsc or node-pcsclite 를 electron 에서 사용하기 위해서(Natvie module은 거의 대부분 동일) 다시 빌드를 해줘야한다. 기본적으로 플랫폼(Window, Linux, OSX) 별로 재 빌드 해야한다고 생각해도 무방하다.
해서 빌드를 다시 하기 위해서 rebuild 스크립트를 짜주는데 이때 필요한 모듈이 electron-rebuild 이다.
의존성을 추가해주고 다음과 같이 rebuild 스크립트를 짜준다.
"rebuild": "electron-rebuild -f -w nfc-pcsc"
electron-rebuild [options] [moduleName] 형태로 작성해주도록한다.
그리고 나서 terminal 에 아래와 같이 모듈 설치 스크립트를 작성한다.
npm install electron@^4.0.0 nfc-pcsc
그러면 electron 4.X.X 버전대와 nfc-pcsc 가 설치가 될것이다.
여기까지 필요한 의존성 추가였다.
이제 동작부분을 작성할 차례이다.
따로 NFC 부분을 프로세스를 생성해서 처리할 수도 있겠지만 우리는 그냥 메인프로세스에서 처리하도록 한다.
NFC 부분 코드 작성
일단 아래와 같이 코드를 작성해보도록한다.
index.js
'use strict'
const {
    NFC
} = require('nfc-pcsc')
const nfc = new NFC()
nfc.on('reader', reader => {
    console.log(`NFC (${reader.reader.name}): device attached`)
    reader.on('card', card => {
        console.log(`NFC (${reader.reader.name}): card detected`, card.uid)
    })
    reader.on('error', err => {
        console.log(`NFC (${reader.reader.name}): an error occurred`, err)
    })
    reader.on('end', () => {
        console.log(`NFC (${reader.reader.name}): device removed`)
    })
})
nfc.on('error', err => {
    console.log('NFC: an error occurred', err)
})
일단 nfc-pcsc 에서 NFC 클래스를 가져오고 인스턴스 생성을 하도록한다.
생성된 인스턴스는 몇가지 이벤트를 받는데 그중에 'reader' 이벤트와 'error' 이벤트에 대해서 핸들링을 하도록한다.
일단 'error'는 에러가 발생시 넘어오게 되는데 여기서 에러는 NFC 객체의 에러이다(각각의 카드리더기는 안에 있는 reader의 에러).
무슨 이야기냐면 nfc.on('reader', (reader) => {}) 부분을 보자.
실제 nfc 카드리더기를 우리가 연결할때 기기에 따라 포트(usb)가 여러개일 수 있다.
데스크탑에도 꽤나 많은 usb포트가 있고 당연히 이 포트들에 여러대의 nfc 카드리더기를 연결 할 수 있다.
각 리더기의 에러 핸들링은 NFC 객체의 reader 이벤트를 리스닝 하면서 받은 reader 객체를 통해서 하도록 한다.
console.log(`NFC (${reader.reader.name}): device attached`)
    reader.on('card', card => {
        console.log(`NFC (${reader.reader.name}): card detected`, card.uid)
    })
    reader.on('error', err => {
        console.log(`NFC (${reader.reader.name}): an error occurred`, err)
    })
    reader.on('end', () => {
        console.log(`NFC (${reader.reader.name}): device removed`)
    })
위의 코드는 reader 이벤트 콜백의 내용이다.
콘솔에 로그를 남긴 메시지를 보면 알 수 있겠지만 기본적으로 해당 이벤트가 수신되어서 reader 객체를 받았다는건 해당 카드리더기가 연결되었음을 나타낸다(이부분이 OS별 그리고 OS 버전별 동작이 다르긴 하다).
해당 리더객체에 'card' 이벤트가 발생하면 NFC 카드를 읽은것으로 해당 card에 대한 정보를 가진 오브젝트를 전달해준다.
'error' 는 지원하지 않는 포맷의 카드를 읽었다던가와 같은 에러 이벤트이고 'end' 이벤트는 기기가 제거(포트에서 빼거나 연결해제)시 발생한다.
이제 이 이벤트들을 각각 용도에 맞게 전파만 하면 된다.
Electron 연동
일단은 기본적인 보일러플레이트 코드는 electron-quick-start 의 코드를 이용하도록 한다.
위에서 작성한 index.js 에 다음과같이 코드를 작성한다.
index.js(Electron 코드 추가)
'use strict'
const {app, BrowserWindow} = require('electron')
const path = require('path')

// Keep a global reference of the window object, if you don't, the window will
// be closed automatically when the JavaScript object is garbage collected.
let mainWindow
const {
    NFC
} = require('nfc-pcsc')
const nfc = new NFC()
nfc.on('reader', reader => {
    console.log(`NFC (${reader.reader.name}): device attached`)
    reader.on('card', card => {
        console.log(`NFC (${reader.reader.name}): card detected`, card.uid)
    })
    reader.on('error', err => {
        console.log(`NFC (${reader.reader.name}): an error occurred`, err)
    })
    reader.on('end', () => {
        console.log(`NFC (${reader.reader.name}): device removed`)
    })
})
nfc.on('error', err => {
    console.log('NFC: an error occurred', err)
})

function createWindow () {
    // Create the browser window.
    mainWindow = new BrowserWindow({
      width: 800,
      height: 600,
    })

    // and load the index.html of the app.
    mainWindow.loadFile('index.html')

    // Open the DevTools.
    // mainWindow.webContents.openDevTools()

    // Emitted when the window is closed.
    mainWindow.on('closed', function () {
      // Dereference the window object, usually you would store windows
      // in an array if your app supports multi windows, this is the time
      // when you should delete the corresponding element.
      mainWindow = null
    })
  }

  // This method will be called when Electron has finished
  // initialization and is ready to create browser windows.
  // Some APIs can only be used after this event occurs.
  app.on('ready', createWindow)

  // Quit when all windows are closed.
  app.on('window-all-closed', function () {
    // On macOS it is common for applications and their menu bar
    // to stay active until the user quits explicitly with Cmd + Q
    if (process.platform !== 'darwin') app.quit()
  })

  app.on('activate', function () {
    // On macOS it's common to re-create a window in the app when the
    // dock icon is clicked and there are no other windows open.
    if (mainWindow === null) createWindow()
  })

  // In this file you can include the rest of your app's specific main process
  // code. You can also put them in separate files and require them here.
자 그러면 이제 이 코드에서 이용할 index.html도 electron-quick-start 에서 가져와서 다음과 같이 만들어주자
index.html
<!DOCTYPE html>
<html>
  <head>
    <meta charset="UTF-8">
    <!-- https://developer.mozilla.org/en-US/docs/Web/HTTP/CSP -->
    <meta http-equiv="Content-Security-Policy" content="default-src 'self'; script-src 'self'">
    <meta http-equiv="X-Content-Security-Policy" content="default-src 'self'; script-src 'self'">
    <title>Hello World!</title>
  </head>
  <body>
    <h1>Hello World!</h1>
    We are using Node.js <span id="node-version"></span>,
    Chromium <span id="chrome-version"></span>,
    and Electron <span id="electron-version"></span>.

    <!-- You can also require other files to run in this process -->
    <script src="./renderer.js"></script>
  </body>
</html>
위의 html 문서의 내용이 별로 어렵진 않을것이다.
그런데 meta태그 몇개가 익숙치 않을 수 있는데 이는 Electron으로 만드는 앱이 웹페이지긴 하지만 Node Js API를 이용하여 네이티브 환경에 대해서 영향을 미칠 수 있다(파일을 삭제한다던가 변조한다던가).
그래서 리소스를 가져올 호스트를 지정한것으로 외부 스크립트나 폰트 그외 이미지등등 에대해서 가져올 경우에는 해당 호스트를 신뢰 할 수 있는경우에 각 콘텐츠별 호스트를 추가로 작성해준다.
그 외 나머지는 그냥 Hello World 타이틀을 가지고 바디에 몇개의 텍스트 정보를 표시할 span 과 h1 태그 뿐이다.
이제 renderer 프로세스 내용을 작성할 renderer.js 를 작성해보도록한다.
renderer.js
(() => {
  const {ipcRenderer} = require('electron')
  ipcRenderer.on('attach-device', (sender, message) => {
    const messageSpan = document.getElementById('message')
    messageSpan.innerText = message.message
  })
  ipcRenderer.on('remove-device', (sender, message) => {
    const messageSpan = document.getElementById('message')
    messageSpan.innerText = message.message
  })
  ipcRenderer.on('card', (sender, message) => {
    const messageSpan = document.getElementById('message')
    const cardSpan = document.getElementById('card')
    messageSpan.innerText = message.message
    cardSpan.innerText = message.card.uid
  })
})()
ipcRenderer를 이용하여 메인프로세스에서 전송한 이벤트를 핸들링 하도록한다.
이벤트는 index.js에 작성한 내용의 nfc 의 리더기 객체 이벤트에 대응되도록 attatch-device, remove-device, card 만 받도록 한다. 에러는 따로 처리하지 않도록 한다.
해당 이벤트로 메시지를 전송할때 다음과 같은 object로 보내기로 한다.
{
  message: "message",
  card: card 오브젝트,
}
자 이제 다시 index.html 을 아래처럼 수정해보자
index.html
<!DOCTYPE html>
<html>

<head>
  <meta charset="UTF-8">
  <!-- https://developer.mozilla.org/en-US/docs/Web/HTTP/CSP -->
  <meta http-equiv="Content-Security-Policy" content="default-src 'self'; script-src 'self'">
  <meta http-equiv="X-Content-Security-Policy" content="default-src 'self'; script-src 'self'">
  <title>Hello World!</title>
</head>

<body>
  <div>
    Message: <span id="message"></span>
  </div>
  <div>
    Card: <span id="card"></span>
  </div>
  <!-- You can also require other files to run in this process -->
  <script src="./renderer.js"></script>
</body>

</html>
renderer.js 에서 우리가 사용할 id로 span의 id를 변경했고 데이터를 보기 좀 편하게 div로 공간을 나눠놨다(데이터가 좀 지저분할 수 있어서)
아직 우리는 렌더러 프로세스에 이벤트 전송부분을 작성하지 않았다.
그러므로 다시 index.js를 수정하도록한다.
수정할 부분은 많지 않다. reader 의 이벤트 수신 콜백부분에서 각 이벤트별로 window 변수 존재여부 체크후 window.send(‘이벤트이름’, data) 해주면된다.
index.js(완성)
'use strict'
const {app, BrowserWindow} = require('electron')
const path = require('path')

// Keep a global reference of the window object, if you don't, the window will
// be closed automatically when the JavaScript object is garbage collected.
let mainWindow
const {
    NFC
} = require('nfc-pcsc')
const nfc = new NFC()
nfc.on('reader', reader => {
    if(mainWindow){
        mainWindow.send('attach-device', {message: `NFC (${reader.reader.name}): device attached`})
    }
    console.log(`NFC (${reader.reader.name}): device attached`)
    reader.on('card', card => {
        console.log(`NFC (${reader.reader.name}): card detected`, card.uid)
        if(mainWindow){
            mainWindow.send('card', {message: `NFC (${reader.reader.name}): card detected`, card})
        }
    })
    reader.on('error', err => {
        console.log(`NFC (${reader.reader.name}): an error occurred`, err)
    })
    reader.on('end', () => {
        console.log(`NFC (${reader.reader.name}): device removed`)
        if(mainWindow){
            mainWindow.send('remove-device', {message: `NFC (${reader.reader.name}): device removed`})
        }
    })
})
nfc.on('error', err => {
    console.log('NFC: an error occurred', err)
})

function createWindow () {
    // Create the browser window.
    mainWindow = new BrowserWindow({
      width: 800,
      height: 600,
    })

    // and load the index.html of the app.
    mainWindow.loadFile('index.html')

    // Open the DevTools.
    // mainWindow.webContents.openDevTools()

    // Emitted when the window is closed.
    mainWindow.on('closed', function () {
      // Dereference the window object, usually you would store windows
      // in an array if your app supports multi windows, this is the time
      // when you should delete the corresponding element.
      mainWindow = null
    })
  }

  // This method will be called when Electron has finished
  // initialization and is ready to create browser windows.
  // Some APIs can only be used after this event occurs.
  app.on('ready', createWindow)

  // Quit when all windows are closed.
  app.on('window-all-closed', function () {
    // On macOS it is common for applications and their menu bar
    // to stay active until the user quits explicitly with Cmd + Q
    if (process.platform !== 'darwin') app.quit()
  })

  app.on('activate', function () {
    // On macOS it's common to re-create a window in the app when the
    // dock icon is clicked and there are no other windows open.
    if (mainWindow === null) createWindow()
  })

  // In this file you can include the rest of your app's specific main process
  // code. You can also put them in separate files and require them here.
reader가 attatch 되는 부분을 제외하면
각각 renderer.js 에서 청취중인 이벤트를 reader.on(‘이벤트’)의 콜백에서 전달해주는걸로 완성이다.
해서 아래 명령어로 실행해보도록 한다.
npm start
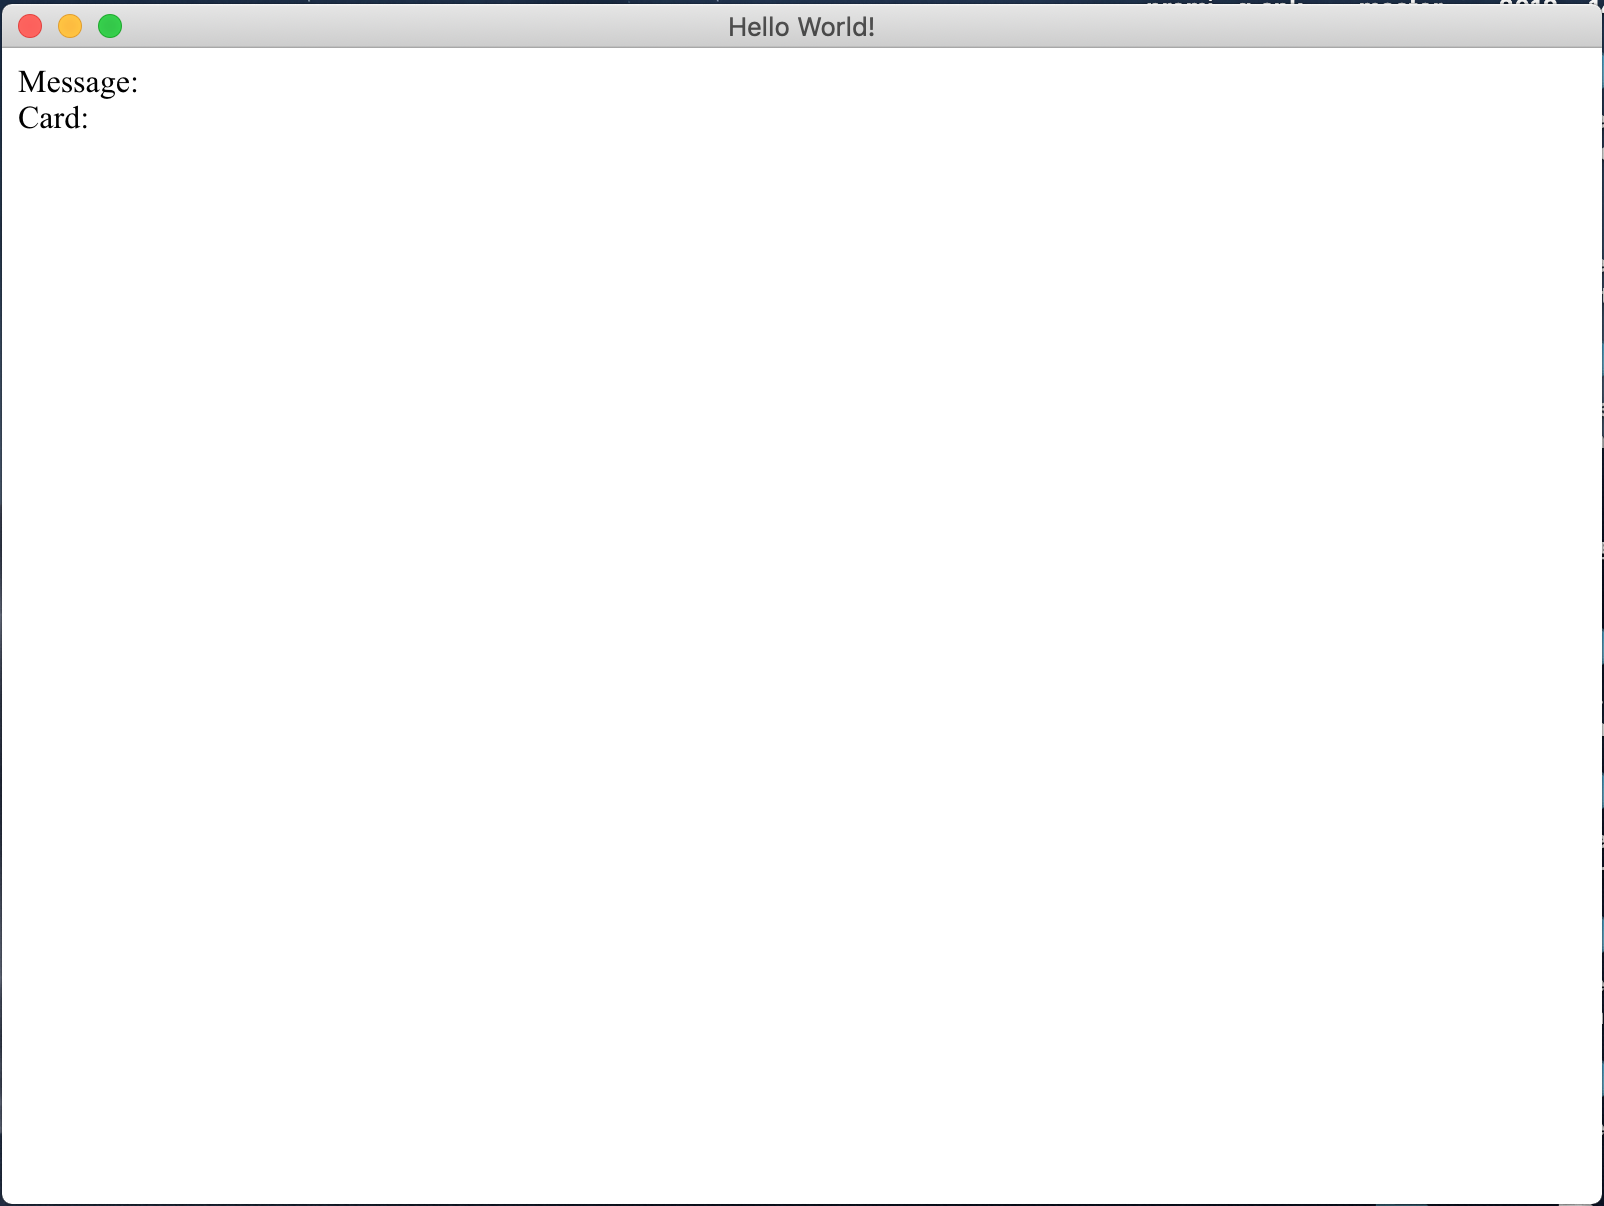
그러면 다음과 같은 화면이 나올것이다.

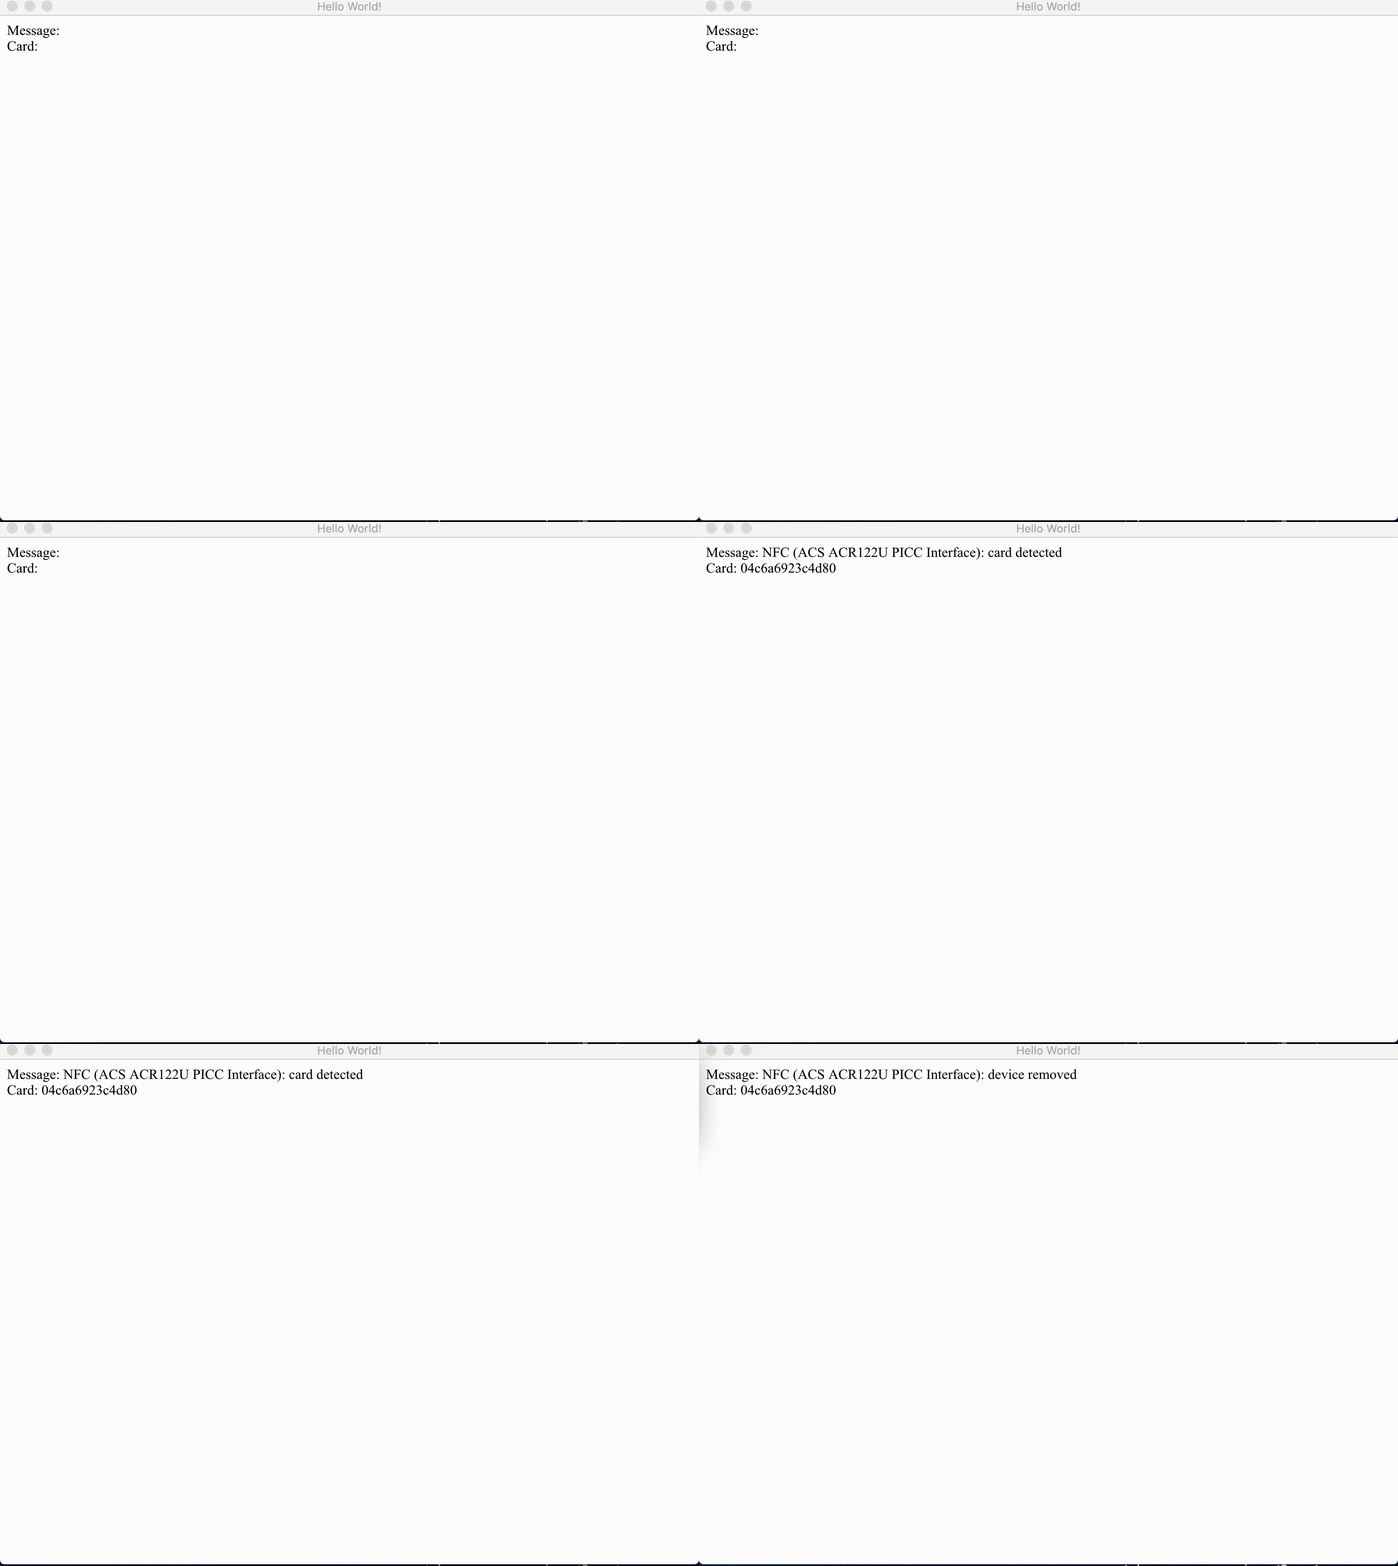
그리고 카드리더기 연결 및 카드를 대보면
아래 와 같이 리더기 정보와 카드 uid값이 찍히는걸 볼 수 있다.

Subscribe via RSS